TABLE OF CONTENTS
- General information
- Manual editing of highlight sets in Focus mode
- Loading existing sets of highlights in Focus mode
- Saving highlights set in Focus mode

General information
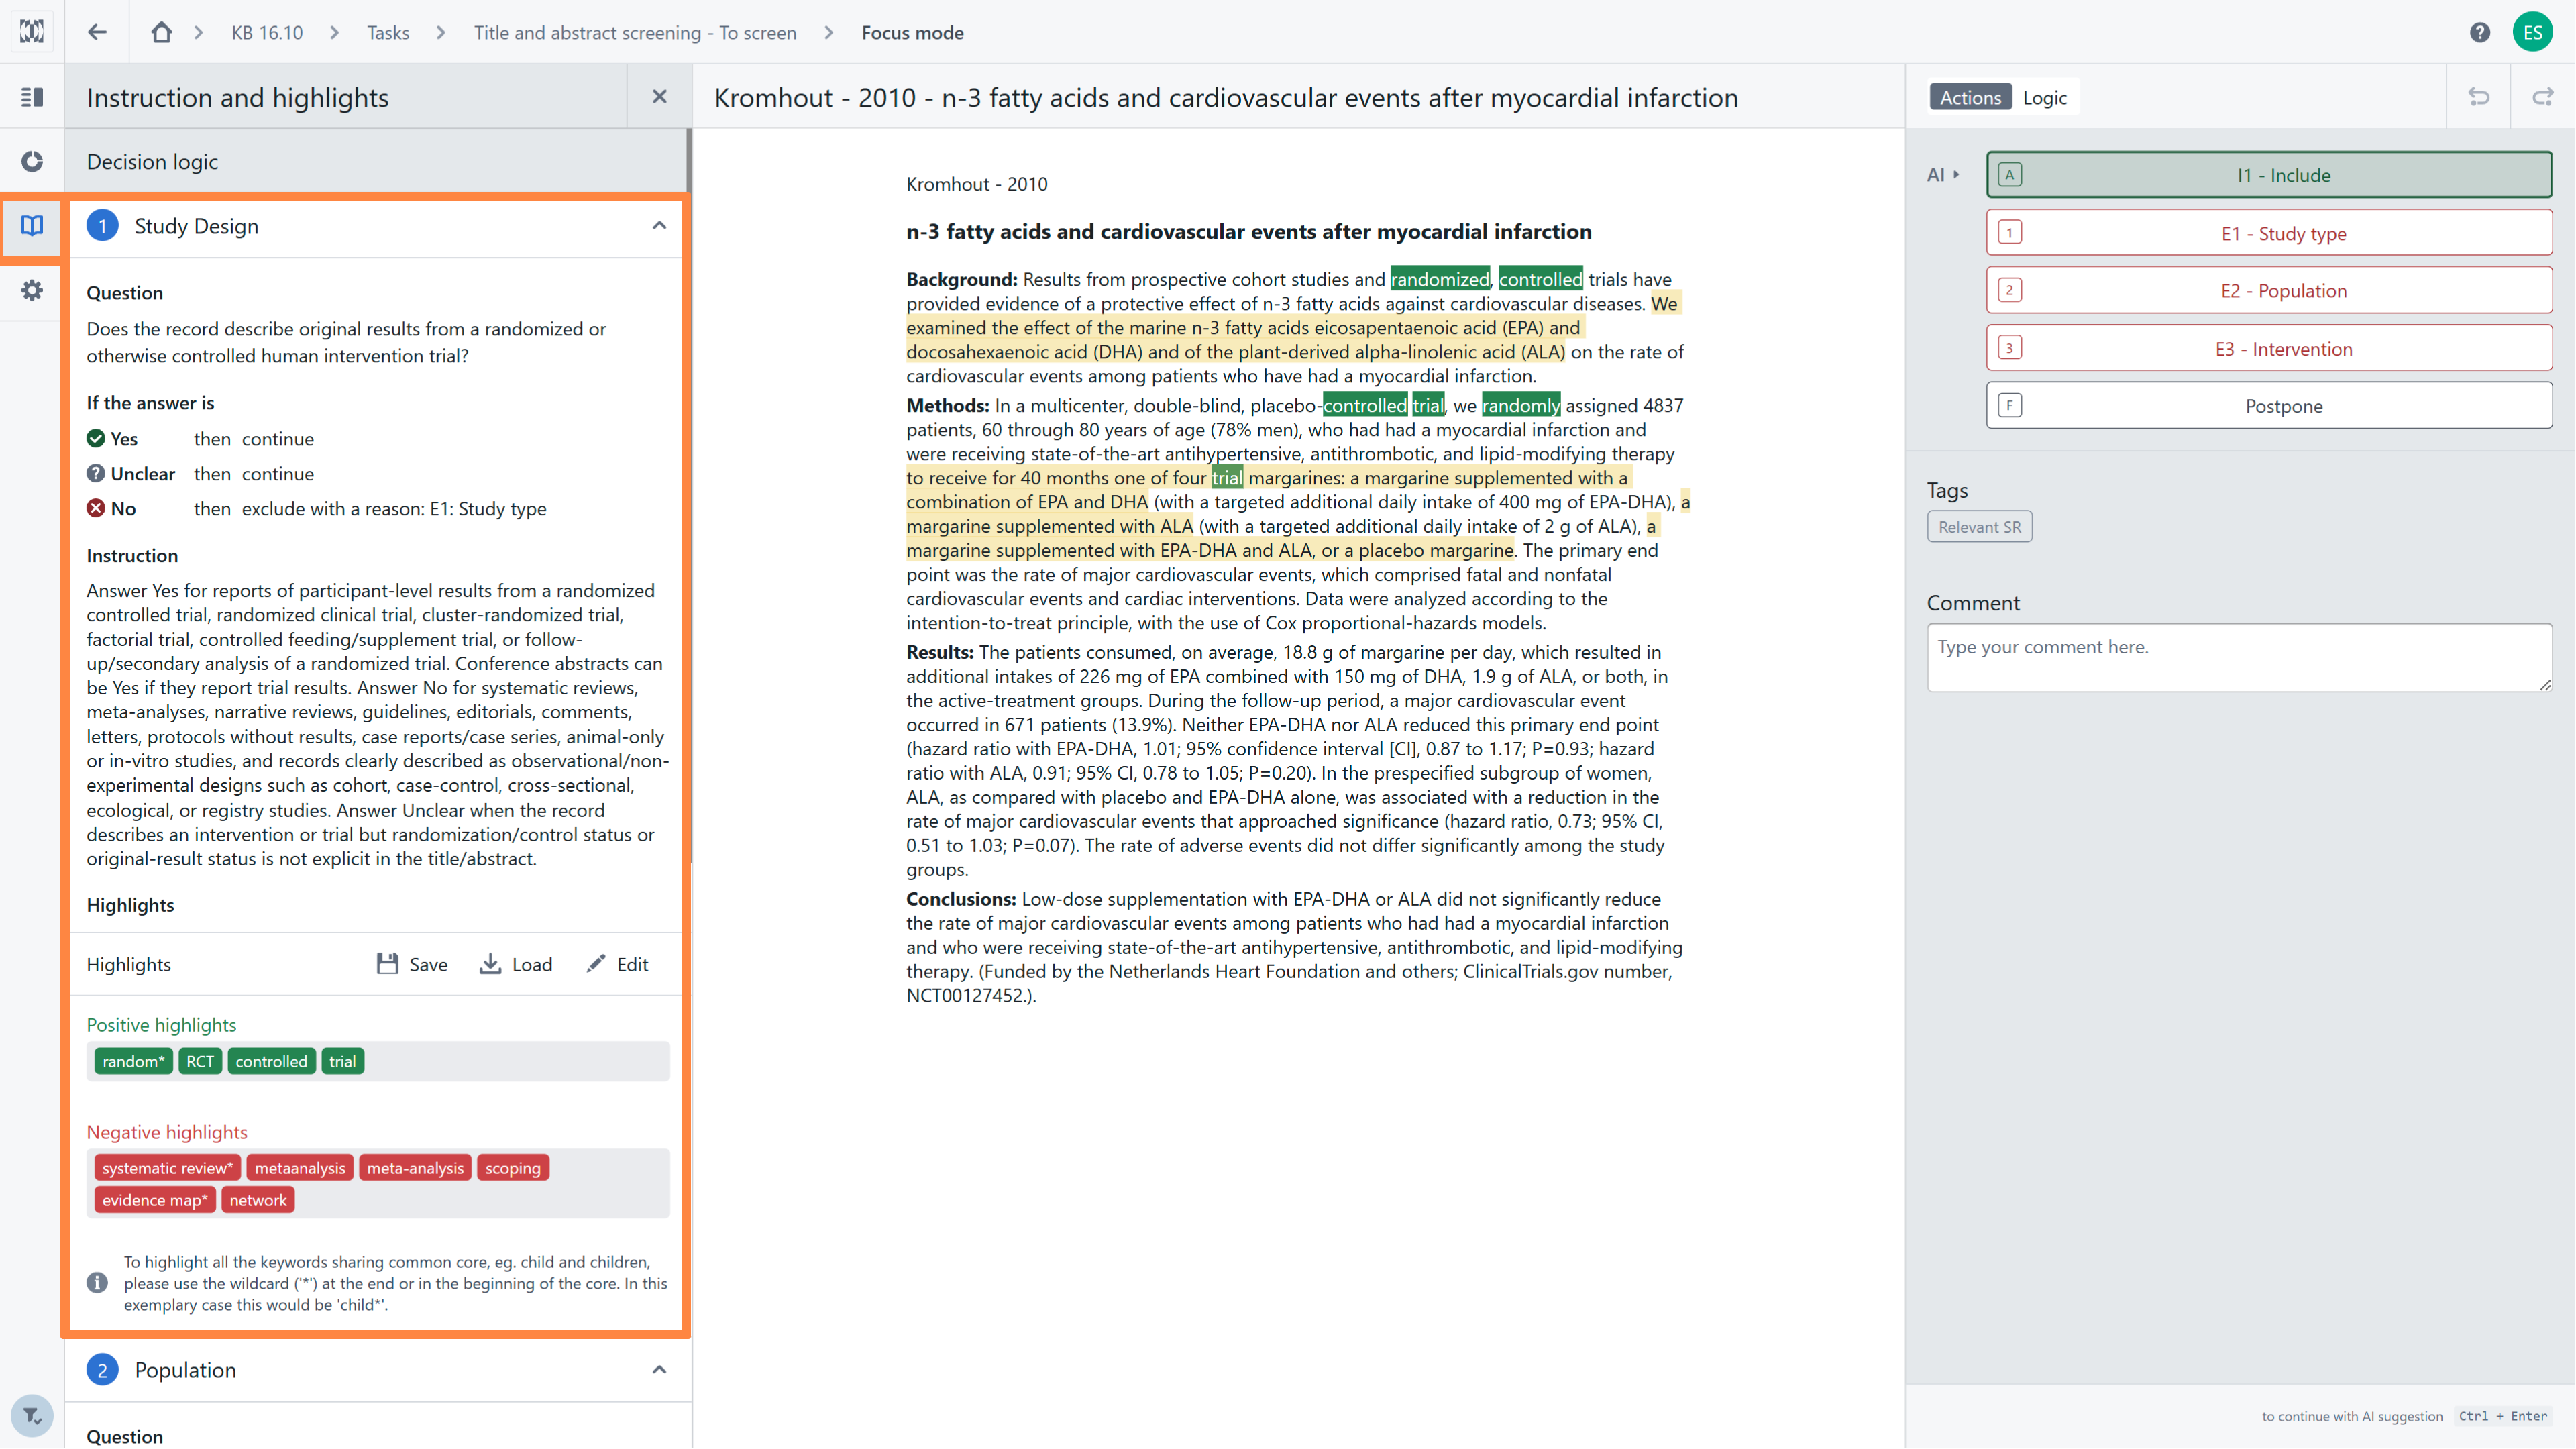
To open the screening instruction, click on the 'Instruction and highlights' icon in the left sidebar.
Your Title and abstract screening instructions will include:
- Decision logic - structures how reviewers evaluate citations through customized screening questions, step-by-step instructions, and answer mapping that translate individual responses into final screening decisions. It also incorporates keyword highlights, which display positive and negative terms directly within the citation text for rapid visual scanning and serve as interactive filters across the reference list. While established during initial setup, only project managers can modify these logic parameters later by navigating to the Stage Dashboard and selecting the Instructions and structured comments tab.
- Context - include description of eligibility criteria and additional context (used by the model to make screening suggestions).
Tip: Remember that you have access to the screening instructions at all times during the screening process. If you have any doubts, you can always refer back to them or discuss them with your manager to modify them.
Manual editing of highlight sets in Focus mode
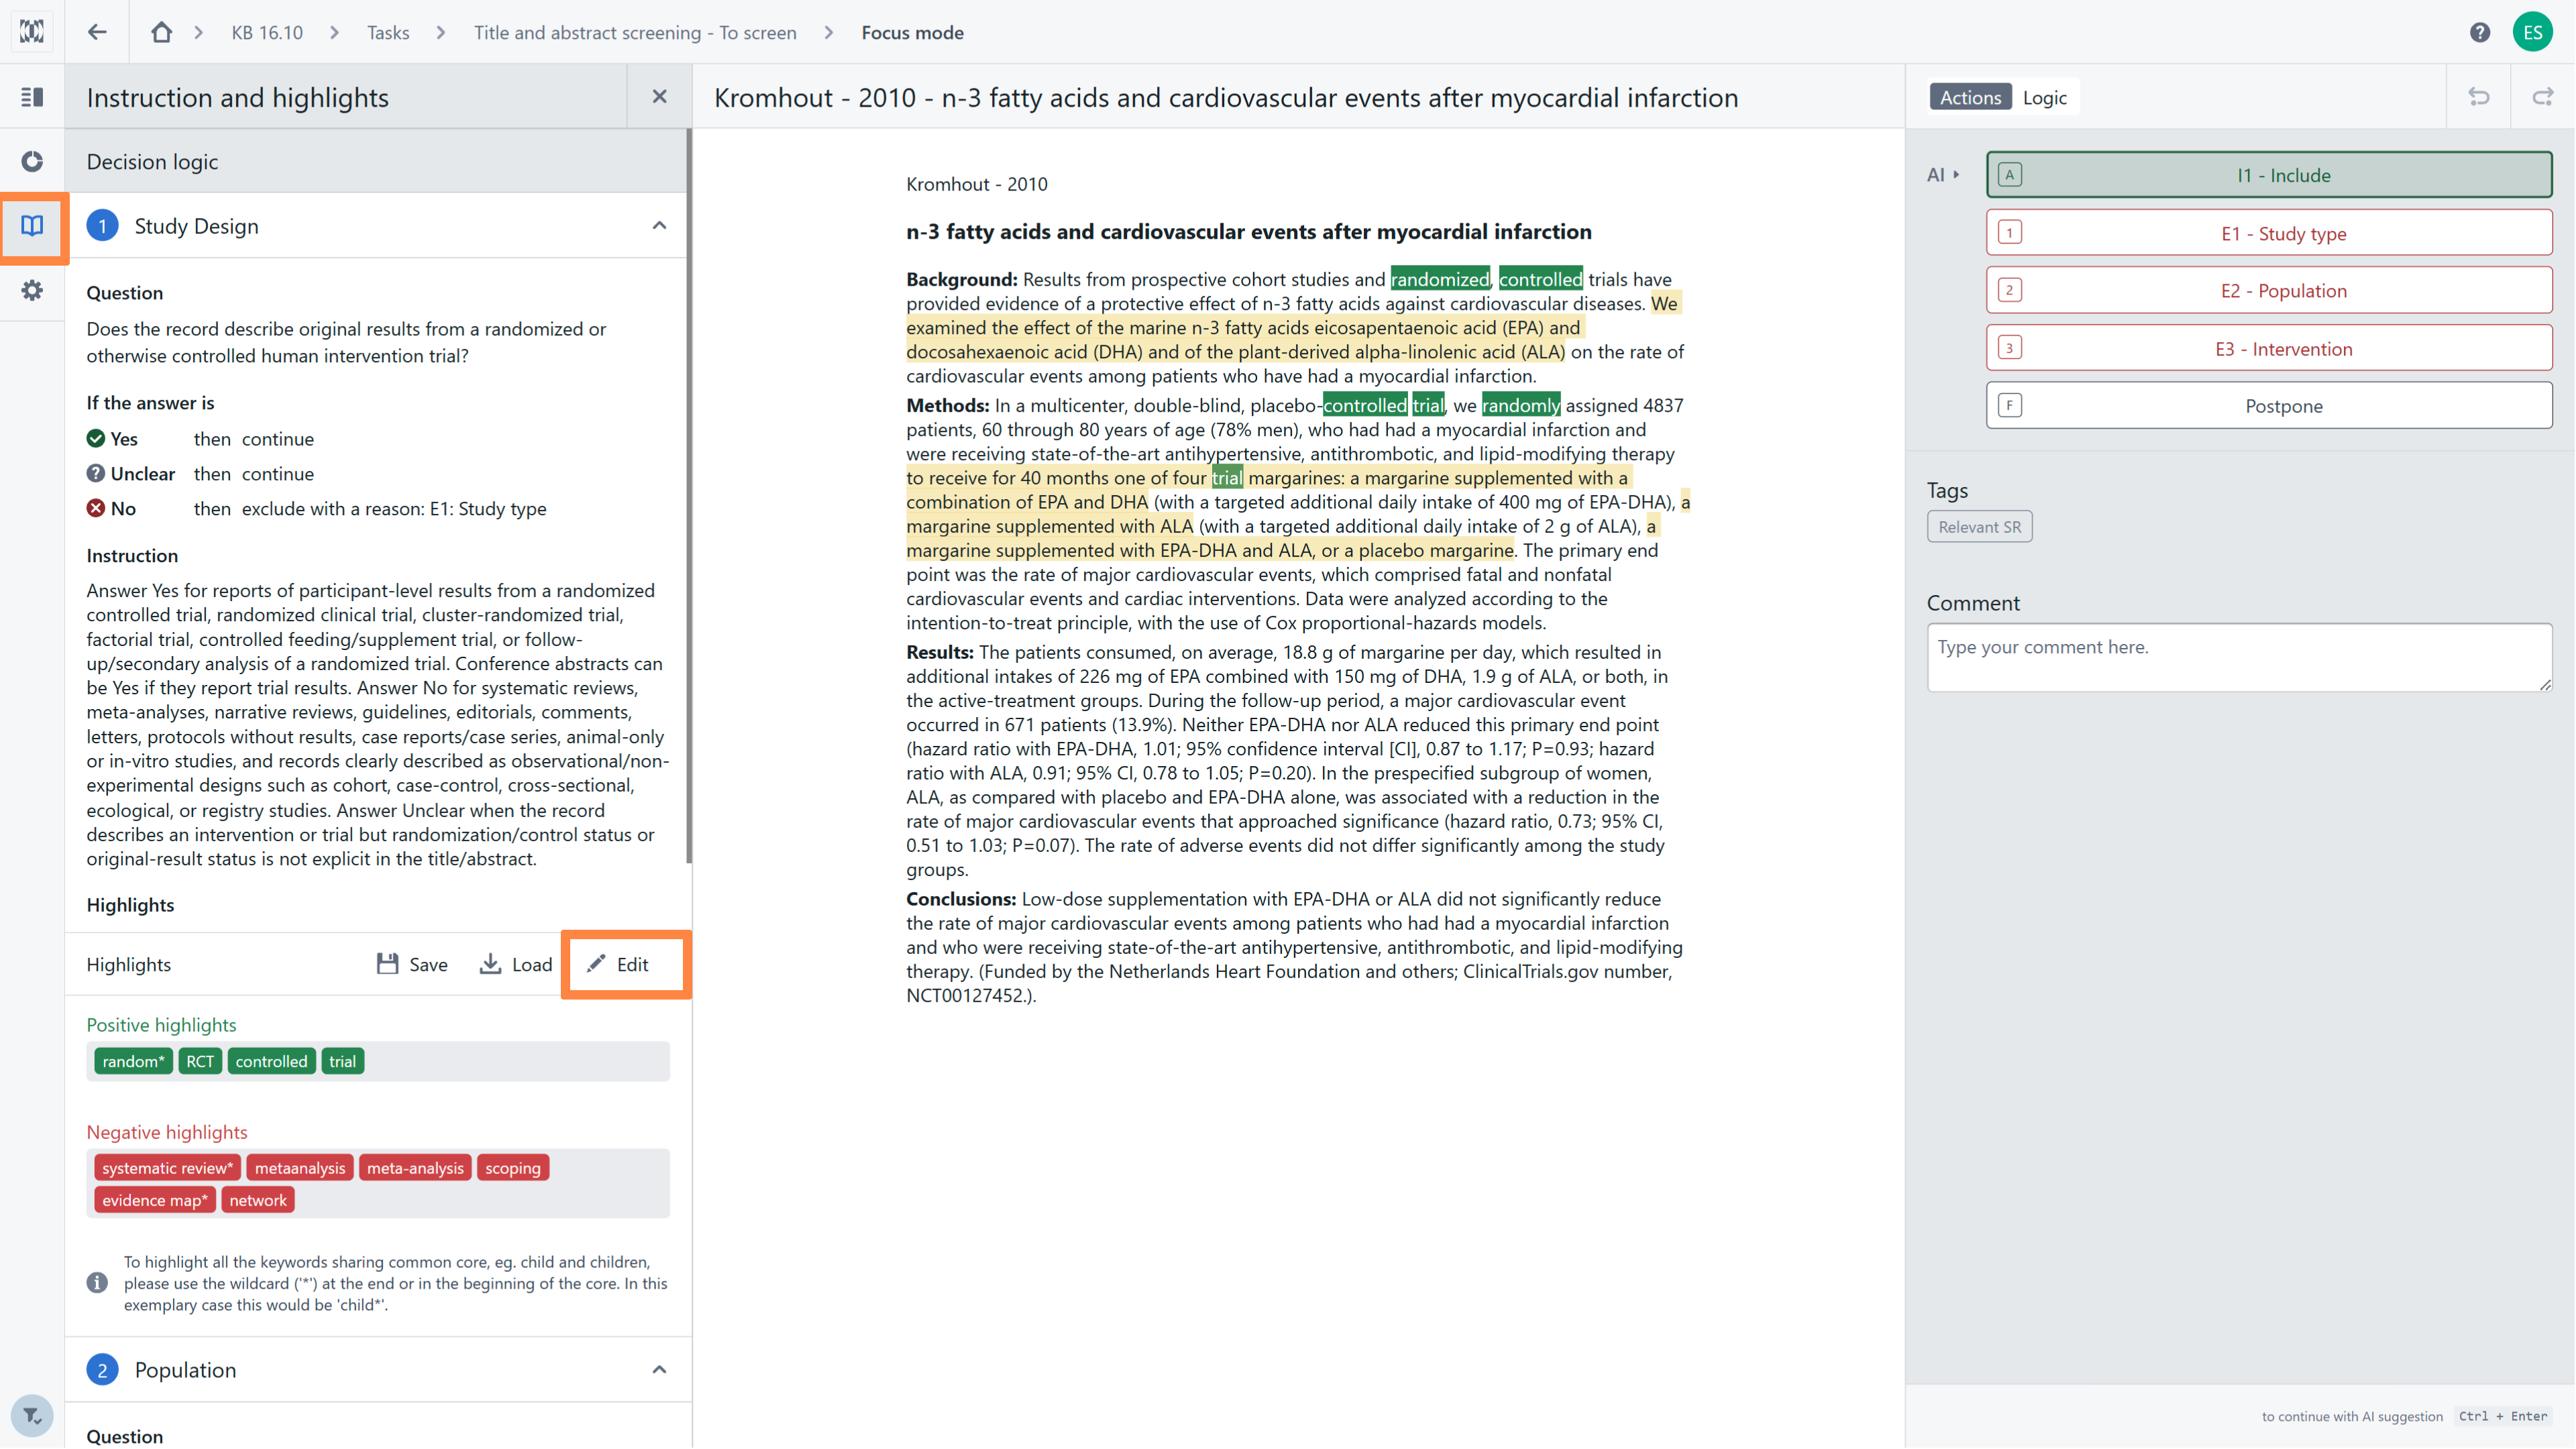
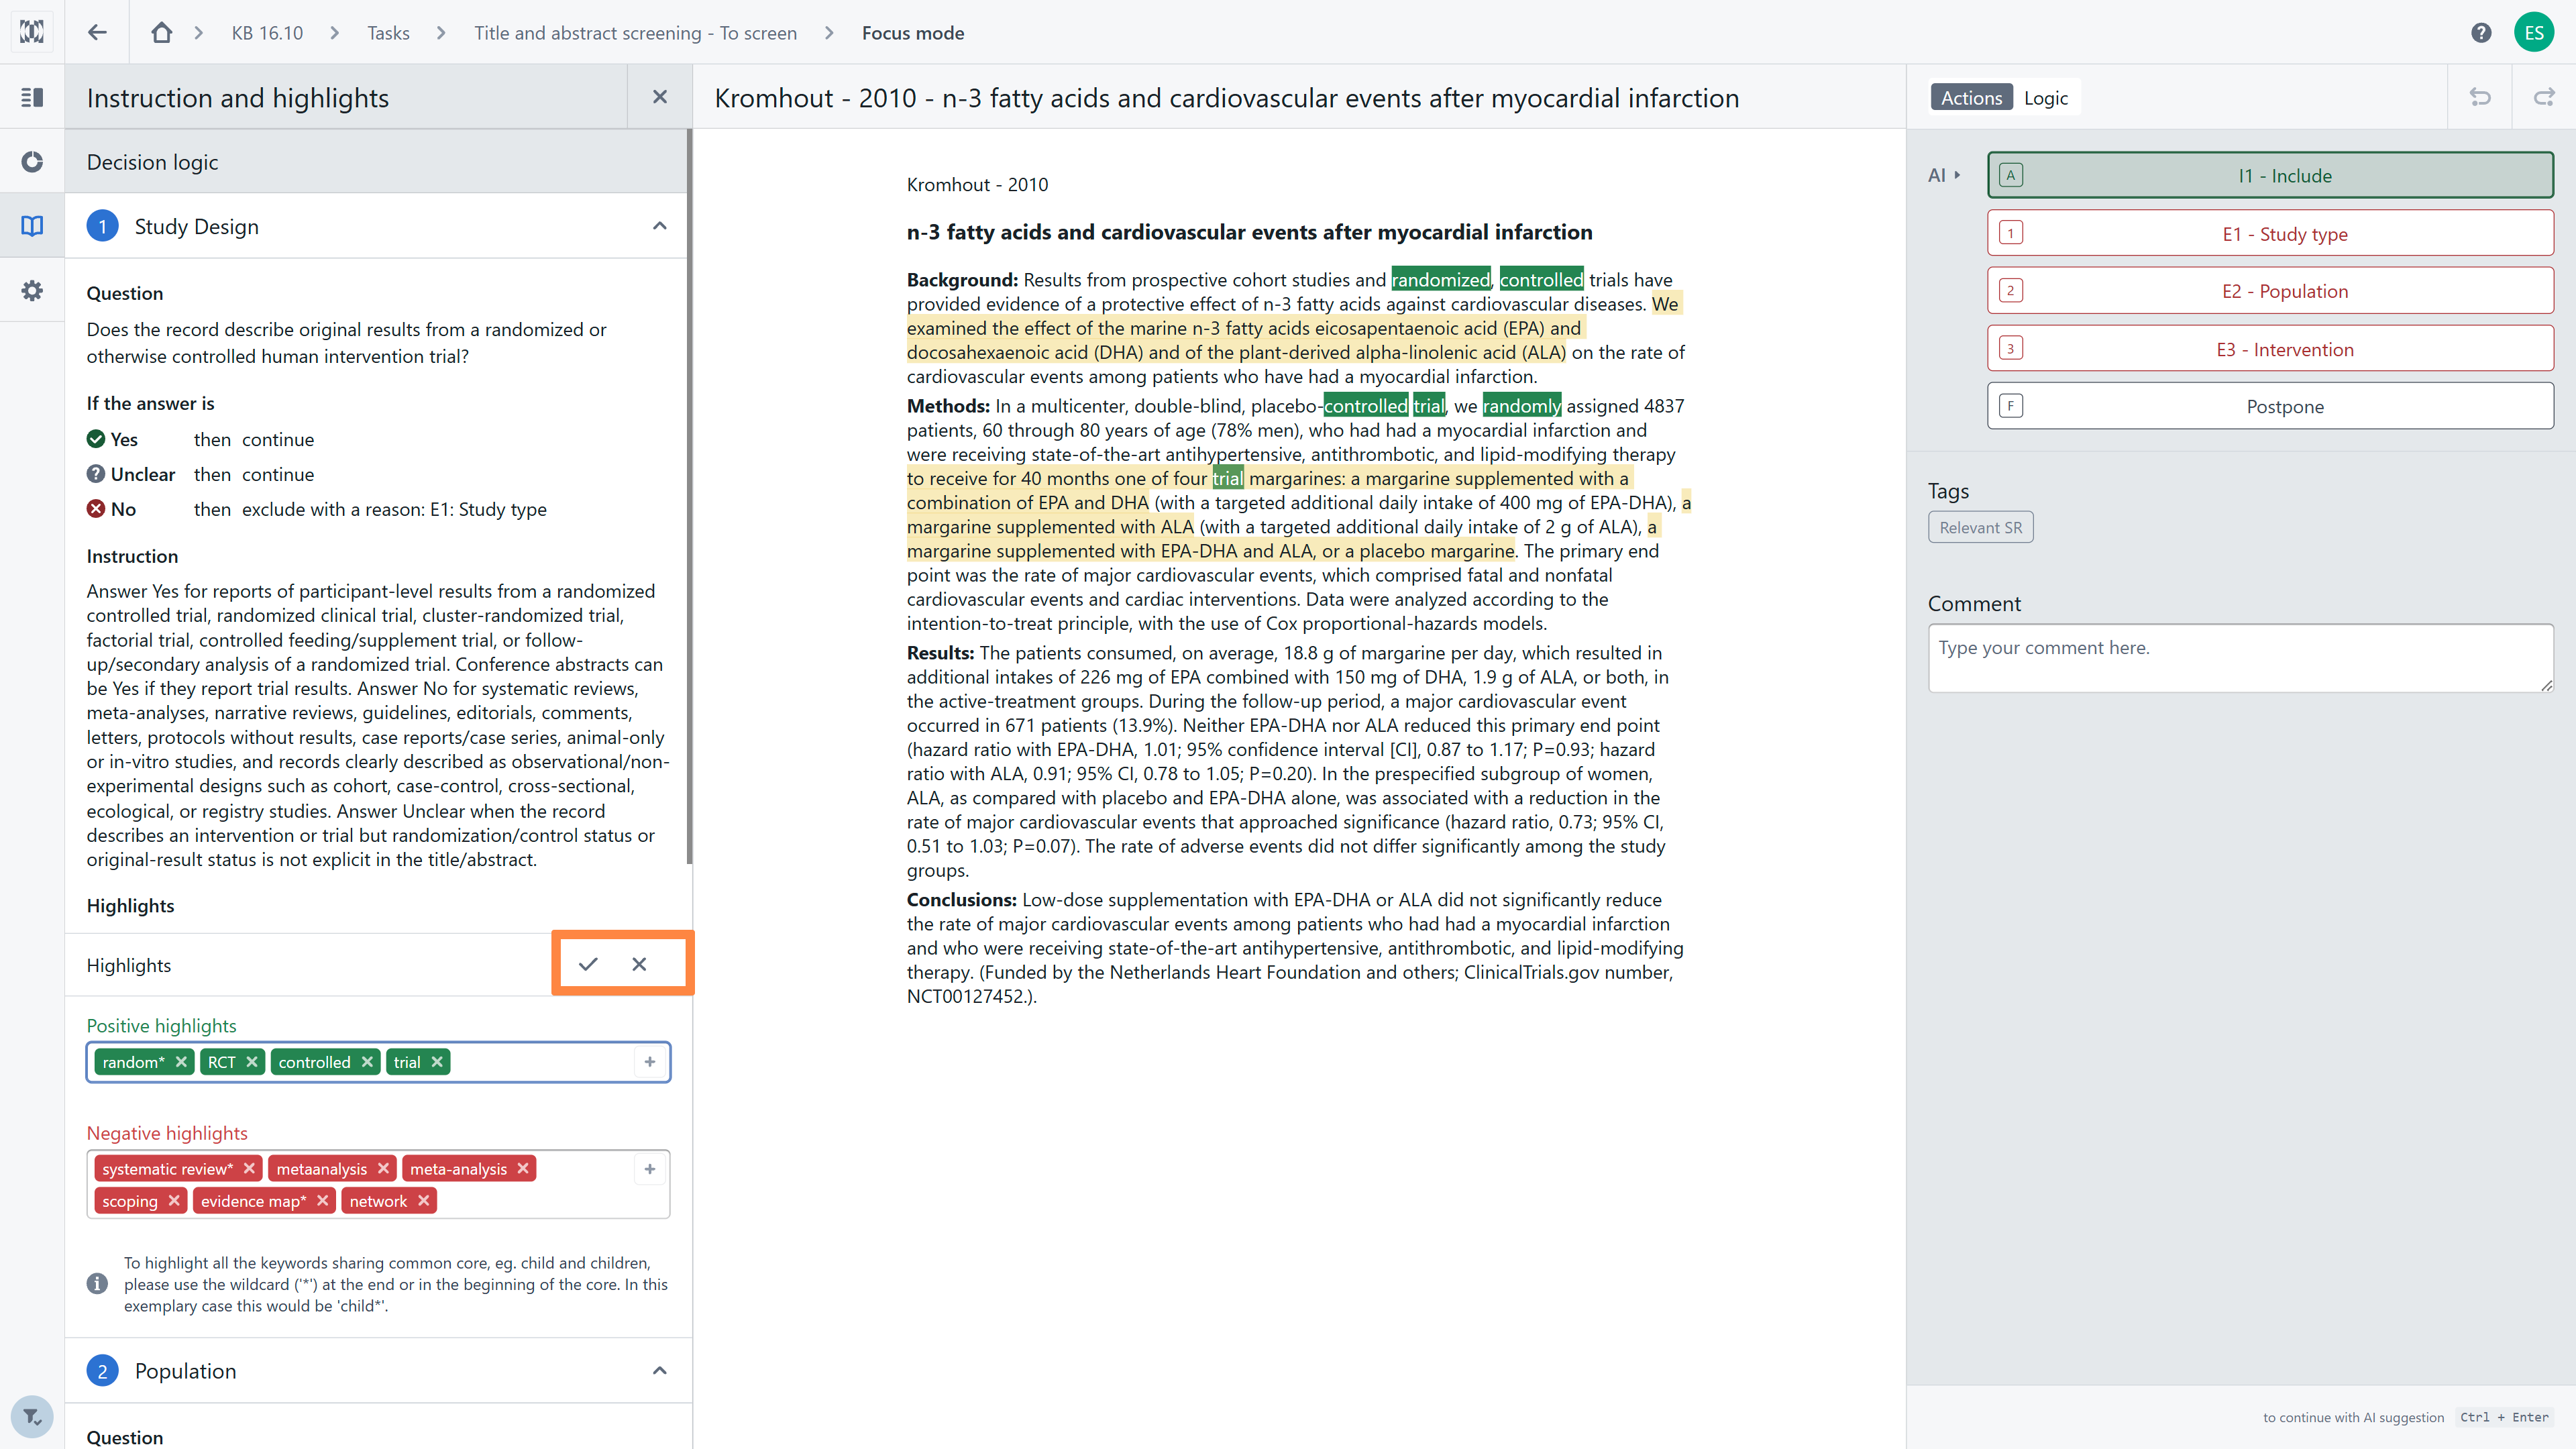
During screening, you may need to change the existing highlights. If this change would be useful for all users, you can modify them in the Stage Dashboard in the "Instructions and structured comments’ tab". Alternatively, you can use the 'Edit' button in the 'Instructions and Highlights' tab to change the highlights for yourself only. Once you have made your changes, remember to save them.
Tip: If you want to add new highlights sharing a common core, e.g. child and children, please use the wildcard ('*') at the end or the beginning of the core.
Loading existing sets of highlights in Focus mode
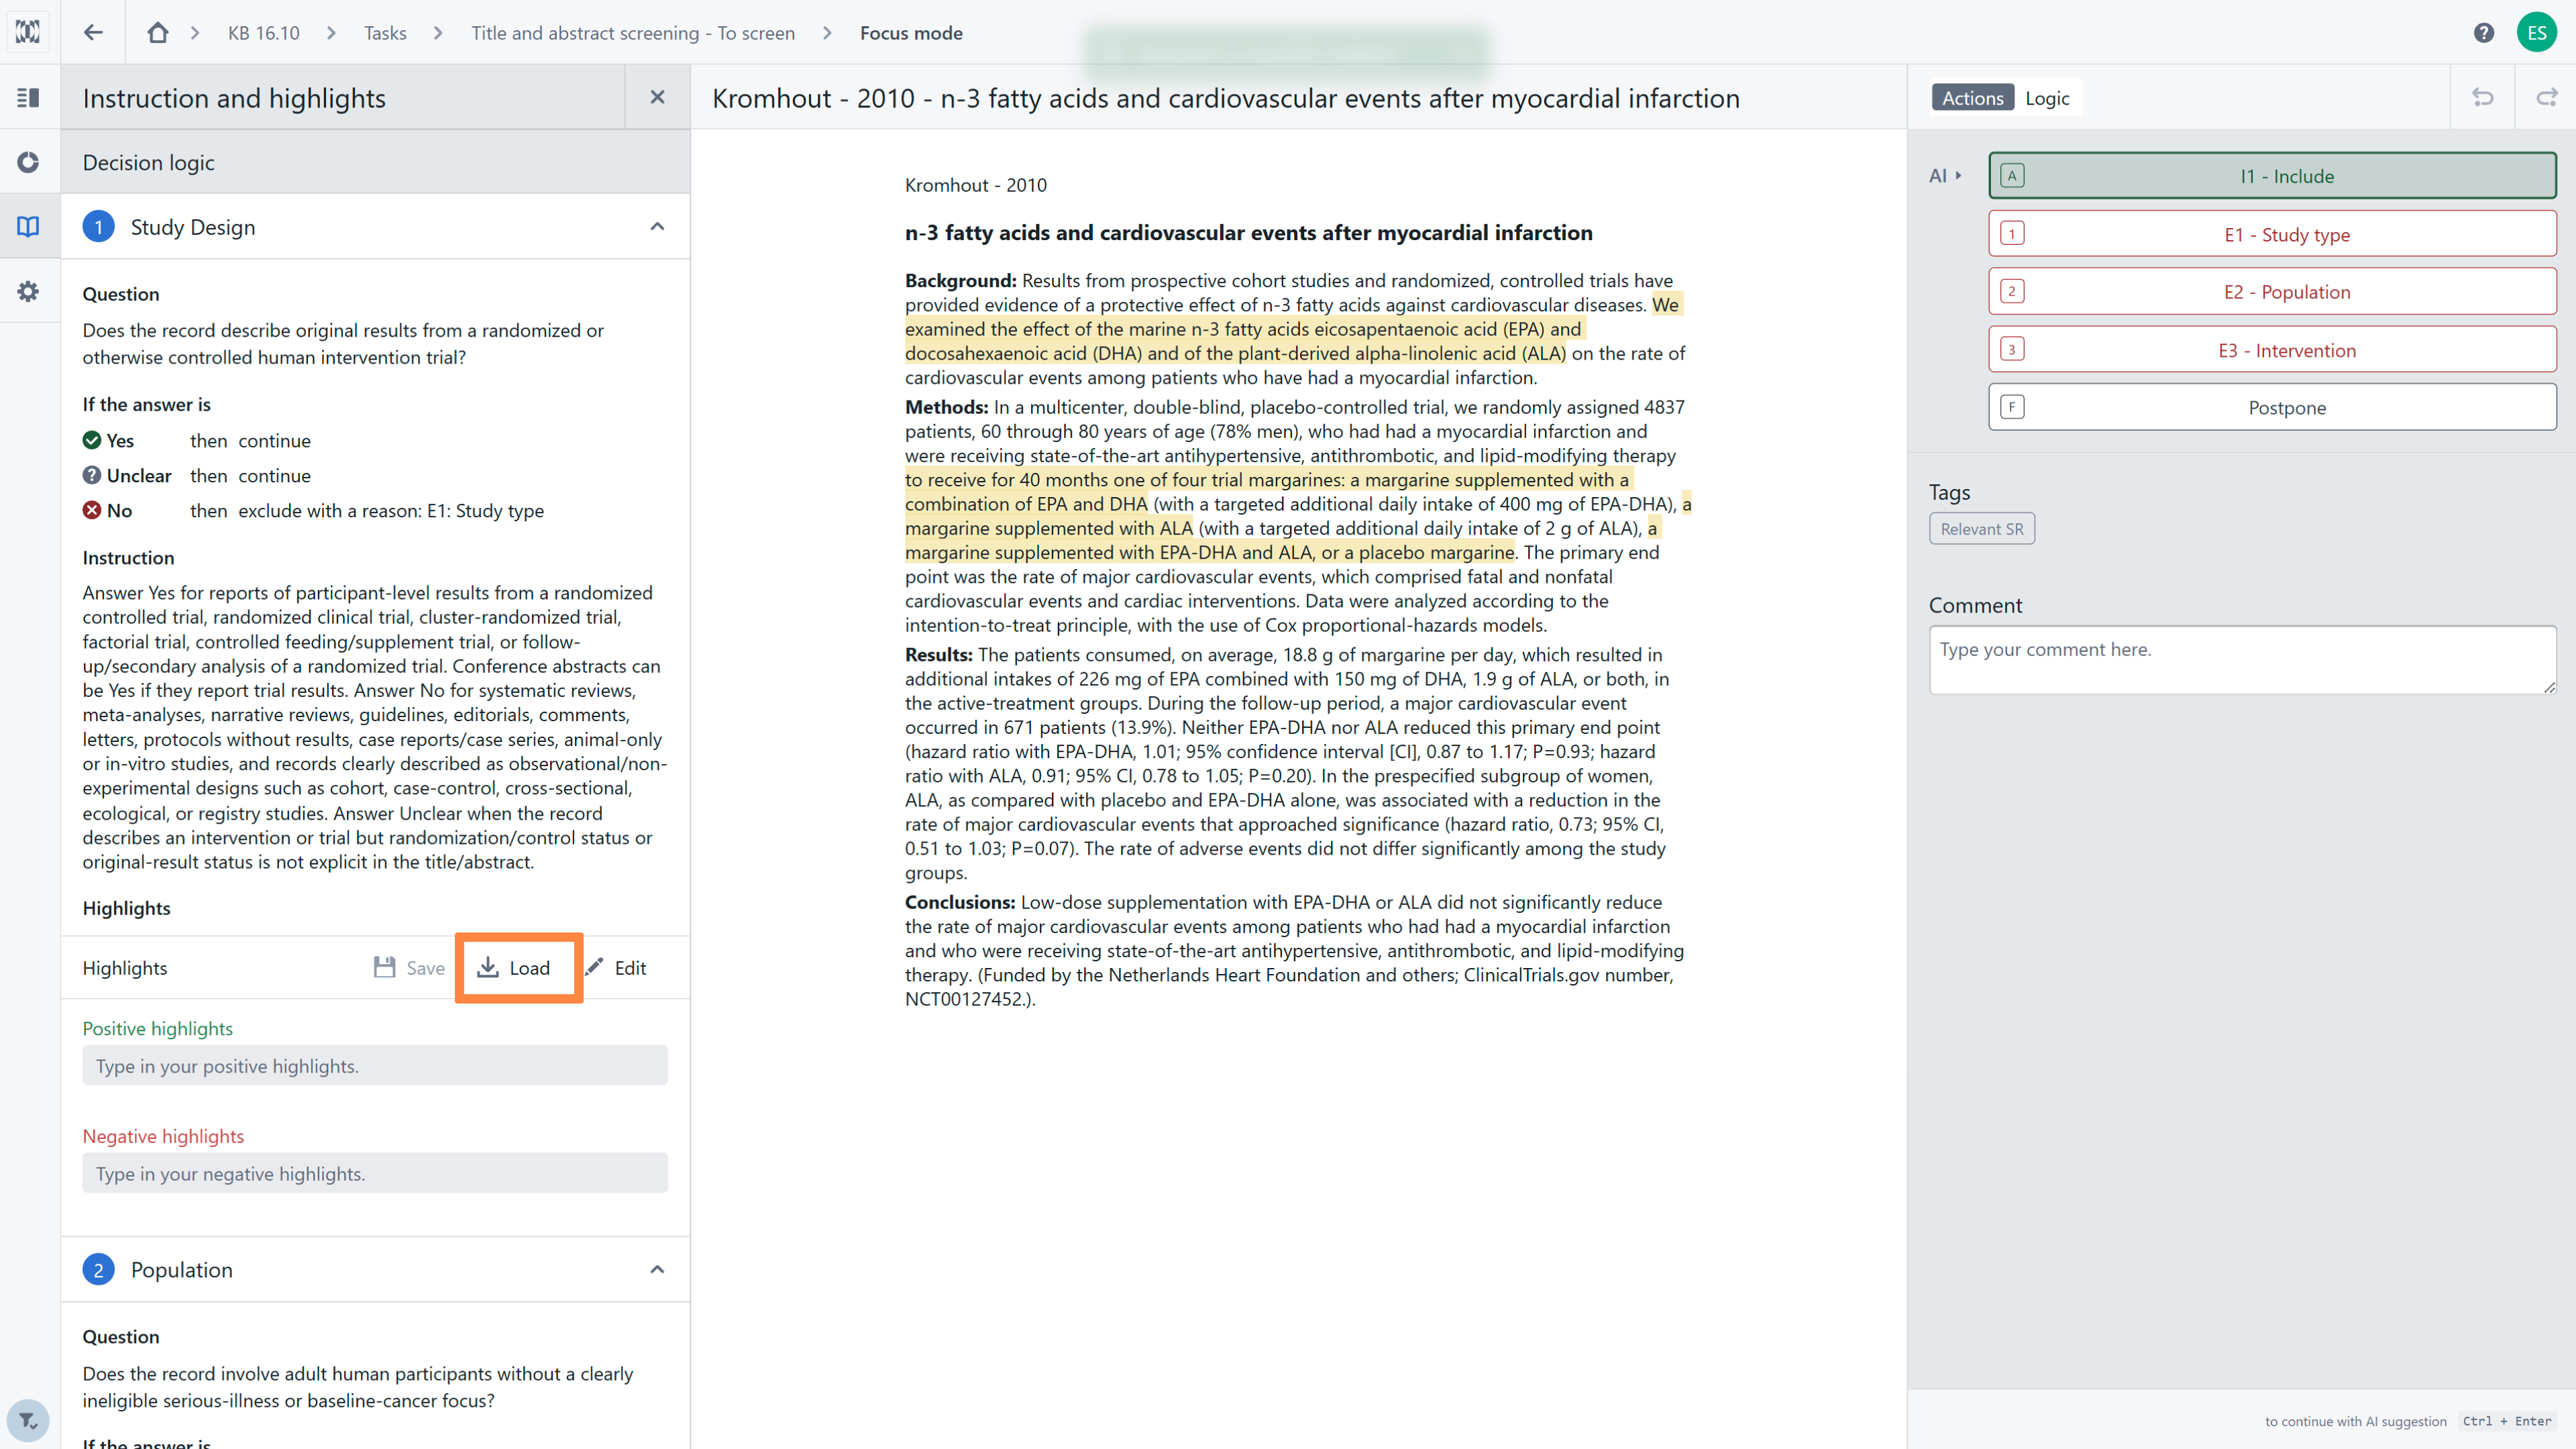
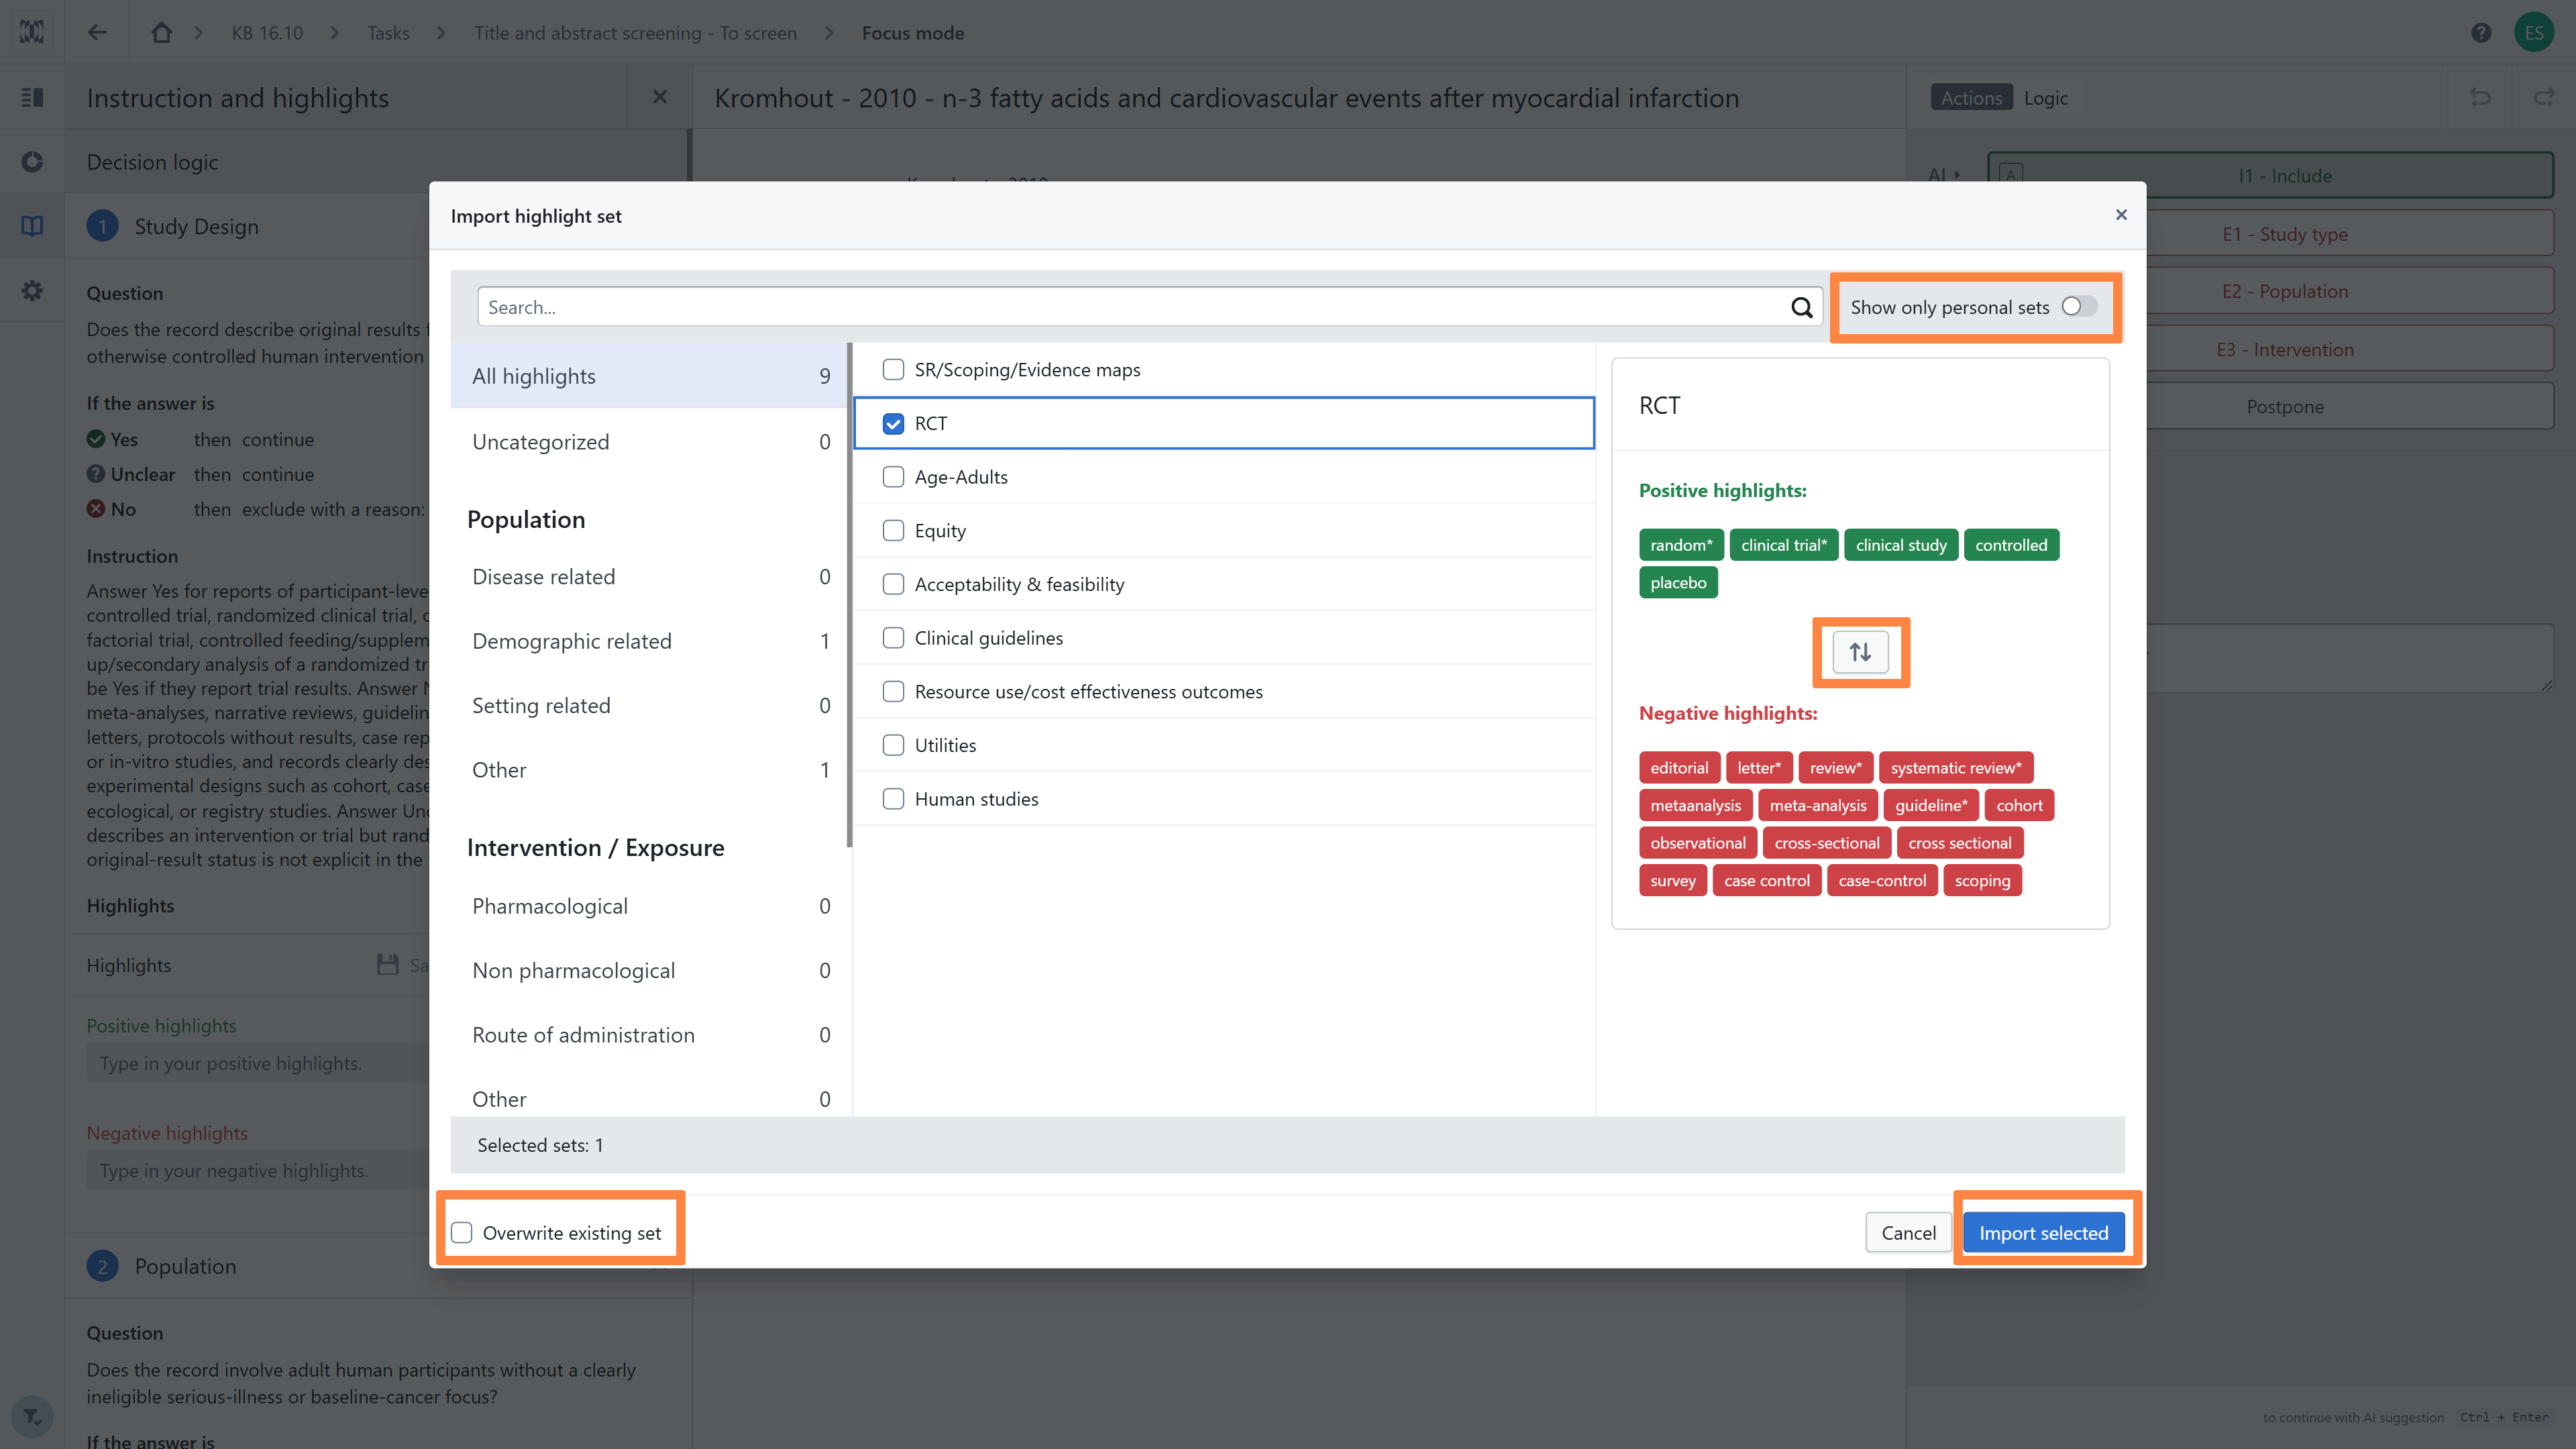
Highlights can also be uploaded from previously created sets. To do this, click the Load icon and select highlights from the list of sets saved by your organisation. You can also view only your personal sets by clicking on the slider in the top right corner. For ease of organization, Highlights Sets are assigned to one of the PICOS concept categories. Once you've selected a set that matches your screening question, decide whether you want to add keywords from the selected set to your instructions or overwrite the existing set (you'll find the overwrite function in the left-hand corner of the page). Remember to click 'Import selected'.
Tip: You can change the meaning of the highlights within each set, i.e. you can move negative highlights to the positive highlights set and vice versa.
Saving highlights set in Focus mode
Prepared sets of highlights can be saved and reused in future projects across an organisation (organisational highlights) or only in your projects (personal highlights).
After selecting 'Save’' ('floppy disk' icon) you will see a panel to modify, save and assign highlights to the correct domain. Once the changes have been saved, the highlights can be reused multiple times.
Please note that the permissions you have to modify Organisation Assets are determined by your role within the organisation. By default, only Administrators, Owners and Data Managers can save a set of Highlights as an Organisation Asset.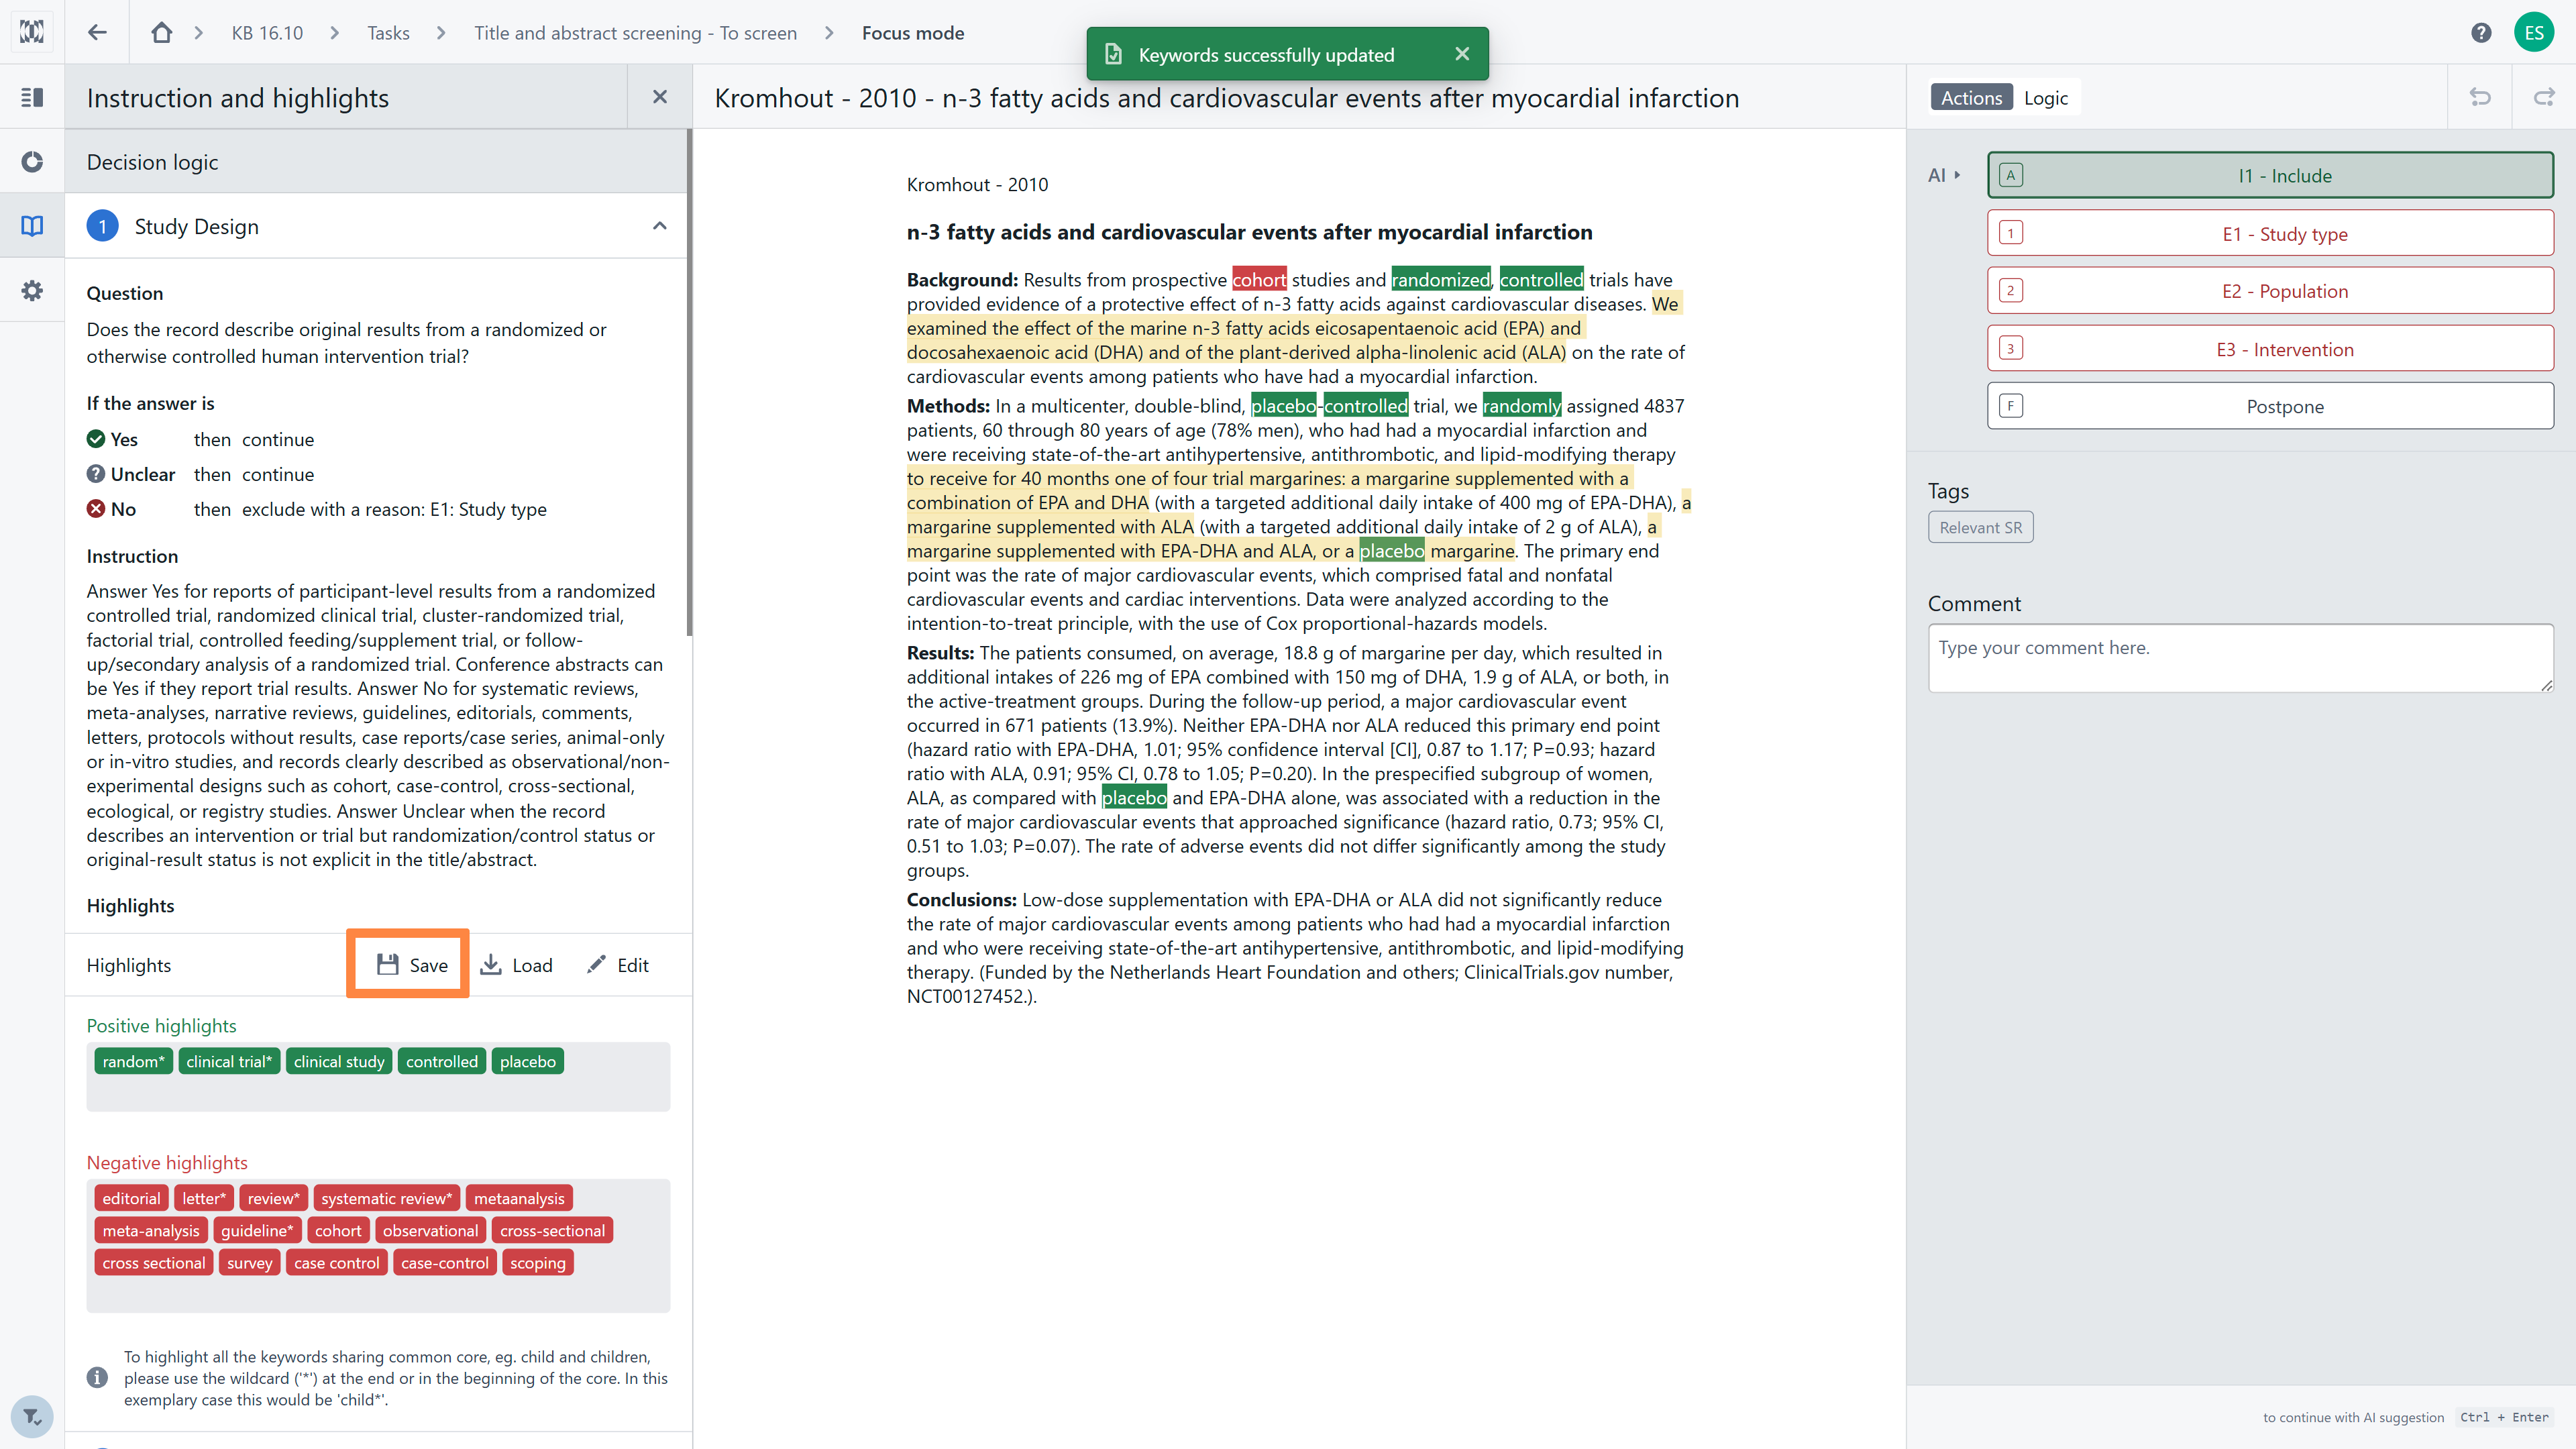

RELATED ARTICLES
Title and abstract screening in the References list vs Focus mode view - overview
Display settings in the Focus mode: highlights enable, abstract formatting and changing colors
Was this article helpful?
That’s Great!
Thank you for your feedback
Sorry! We couldn't be helpful
Thank you for your feedback
Feedback sent
We appreciate your effort and will try to fix the article